
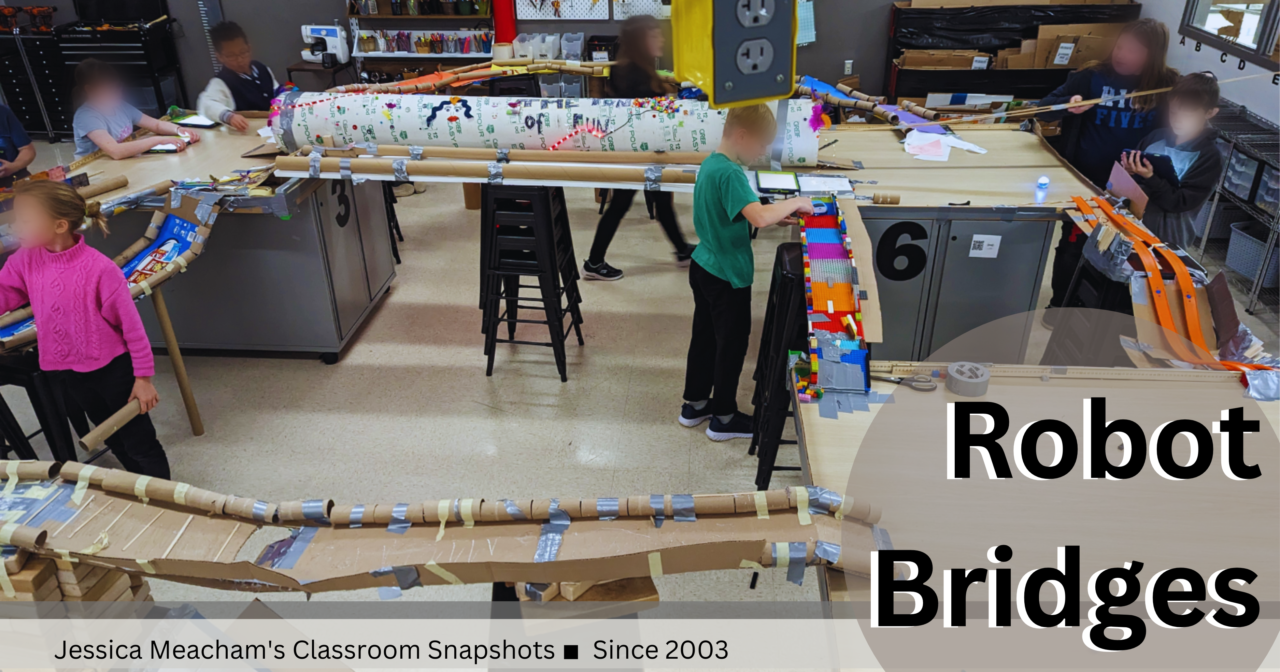
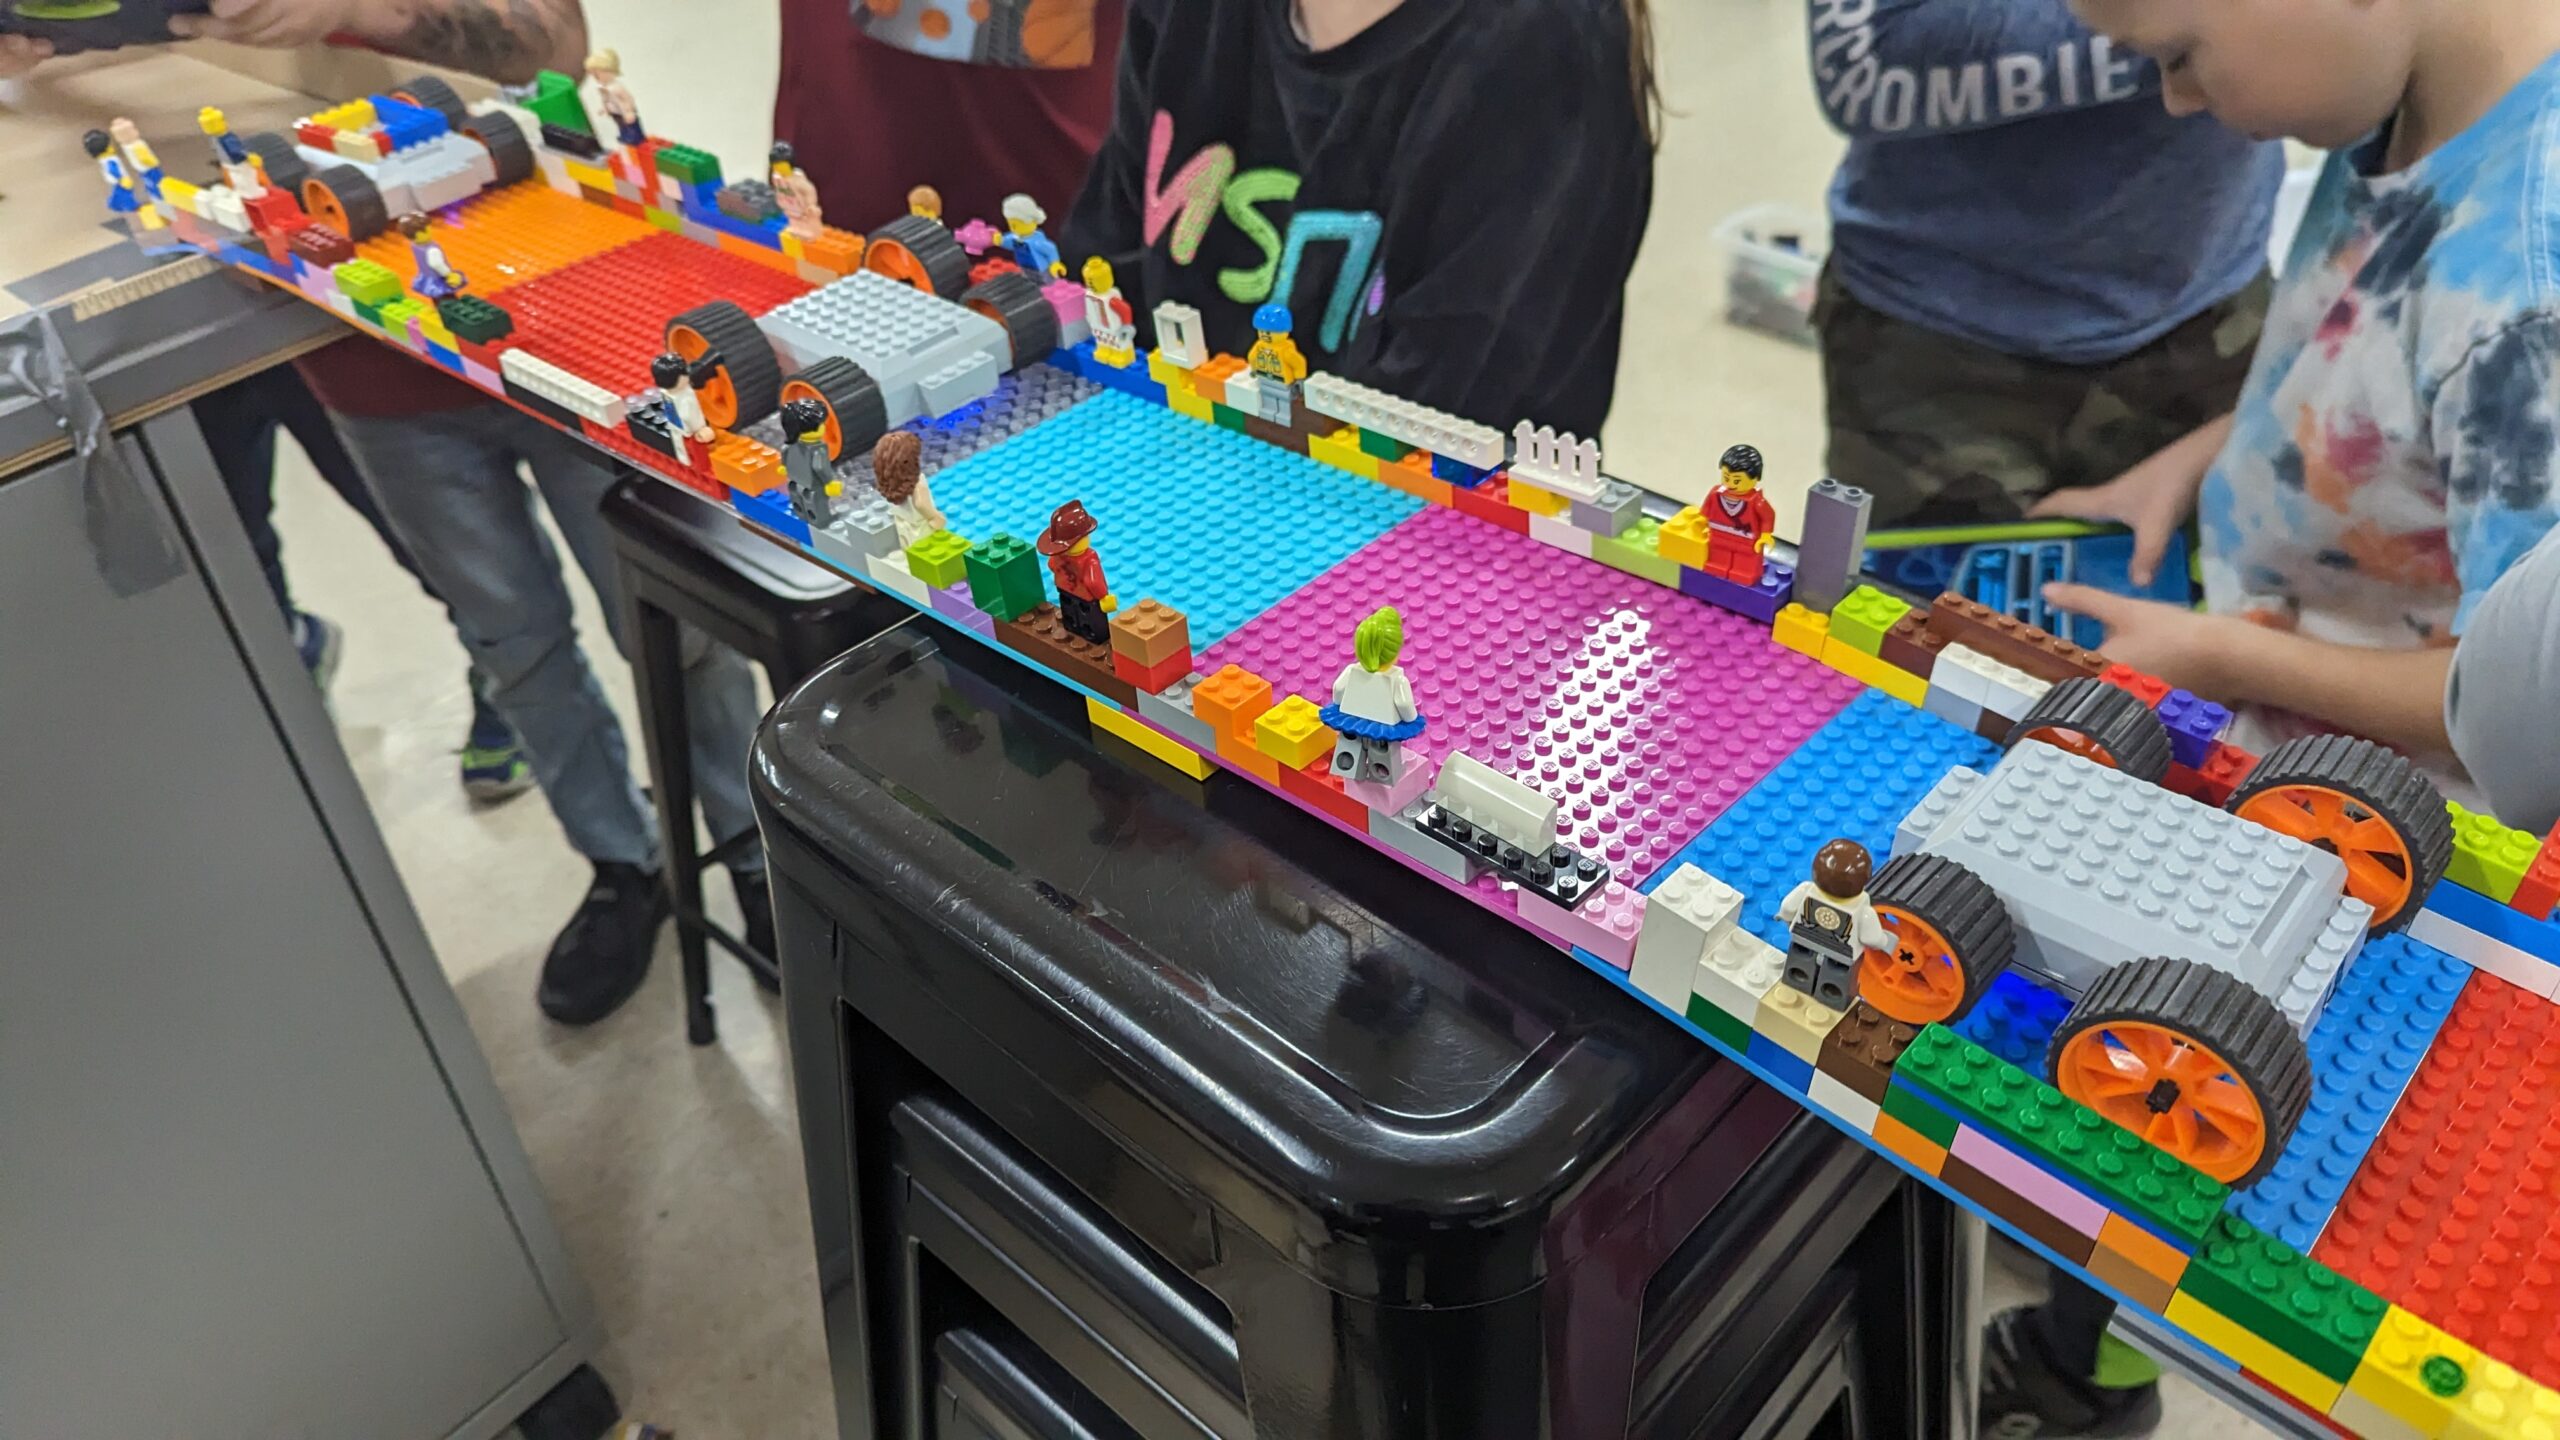
I’ve been wanting to give this idea a try and this year was finally the year! The kids love it. We started with just ONE robot (Meeberbots — and they’re really great for it), but then as the week progressed, we added in some of the smaller robots that we have (Sphero Minis, Sphero Bolts, Sphero Indis — and they worked out great too.
This is a challenge that looks different from day to day, as each class builds on what the previous classes have done. So, since we started on a Tuesday, my Monday’s classes reaped the benefits of what the previous four days had accomplished, and my Tuesday and Wednesday classes were pretty curious to see the changes over time — so I encouraged their teachers to “drive by” the STEAM room to let their classes take a peek.
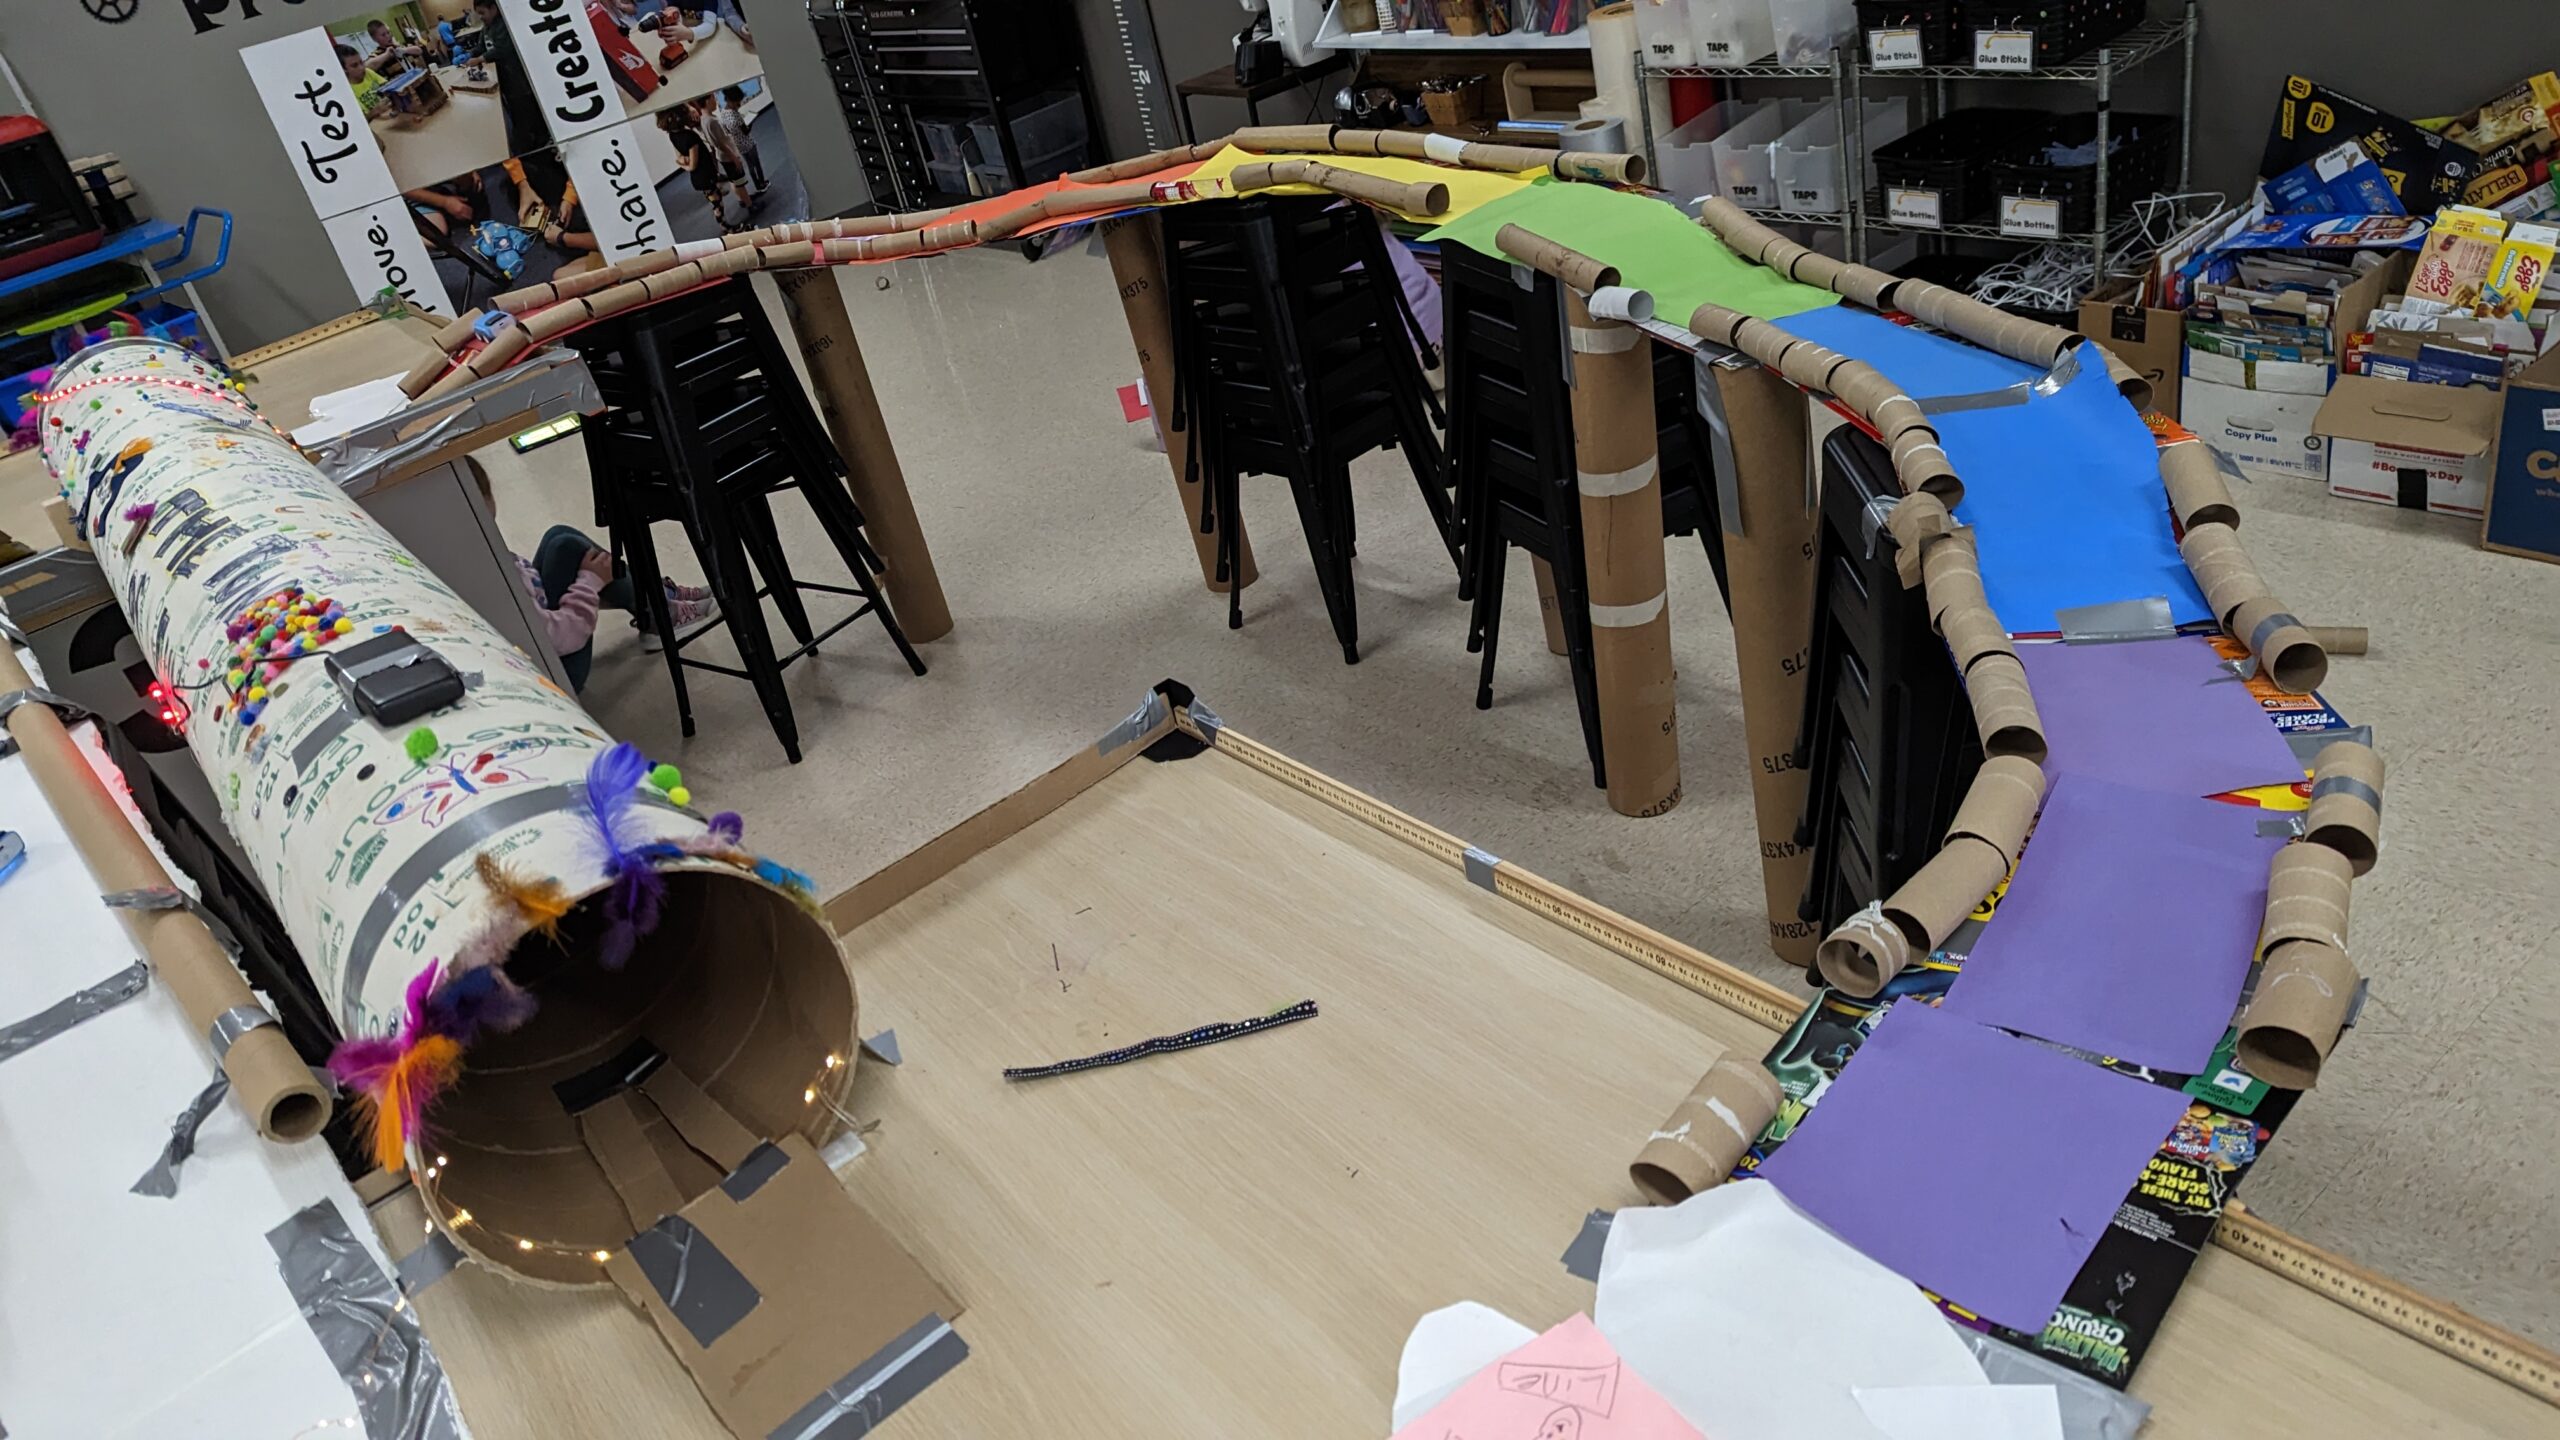
Here’s what the challenge looks like:
- Students in grades 2-5 build bridges, test them, and modify them
- Students in grades K-1 test what has already been built and give feedback
- I give feedback to the next classes I have (grades 2-5) and they act on recommendations
- 4K kiddos remain on the floor and practice accessing apps and connecting to robots (and driving them

If you’d like to view and/or download any of the lesson resources, click the download arrow above!
We will do this challenge once every three years, so kids in K will do it again when they’re in 3rd grade, thus experiencing both ends of the challenge roles.
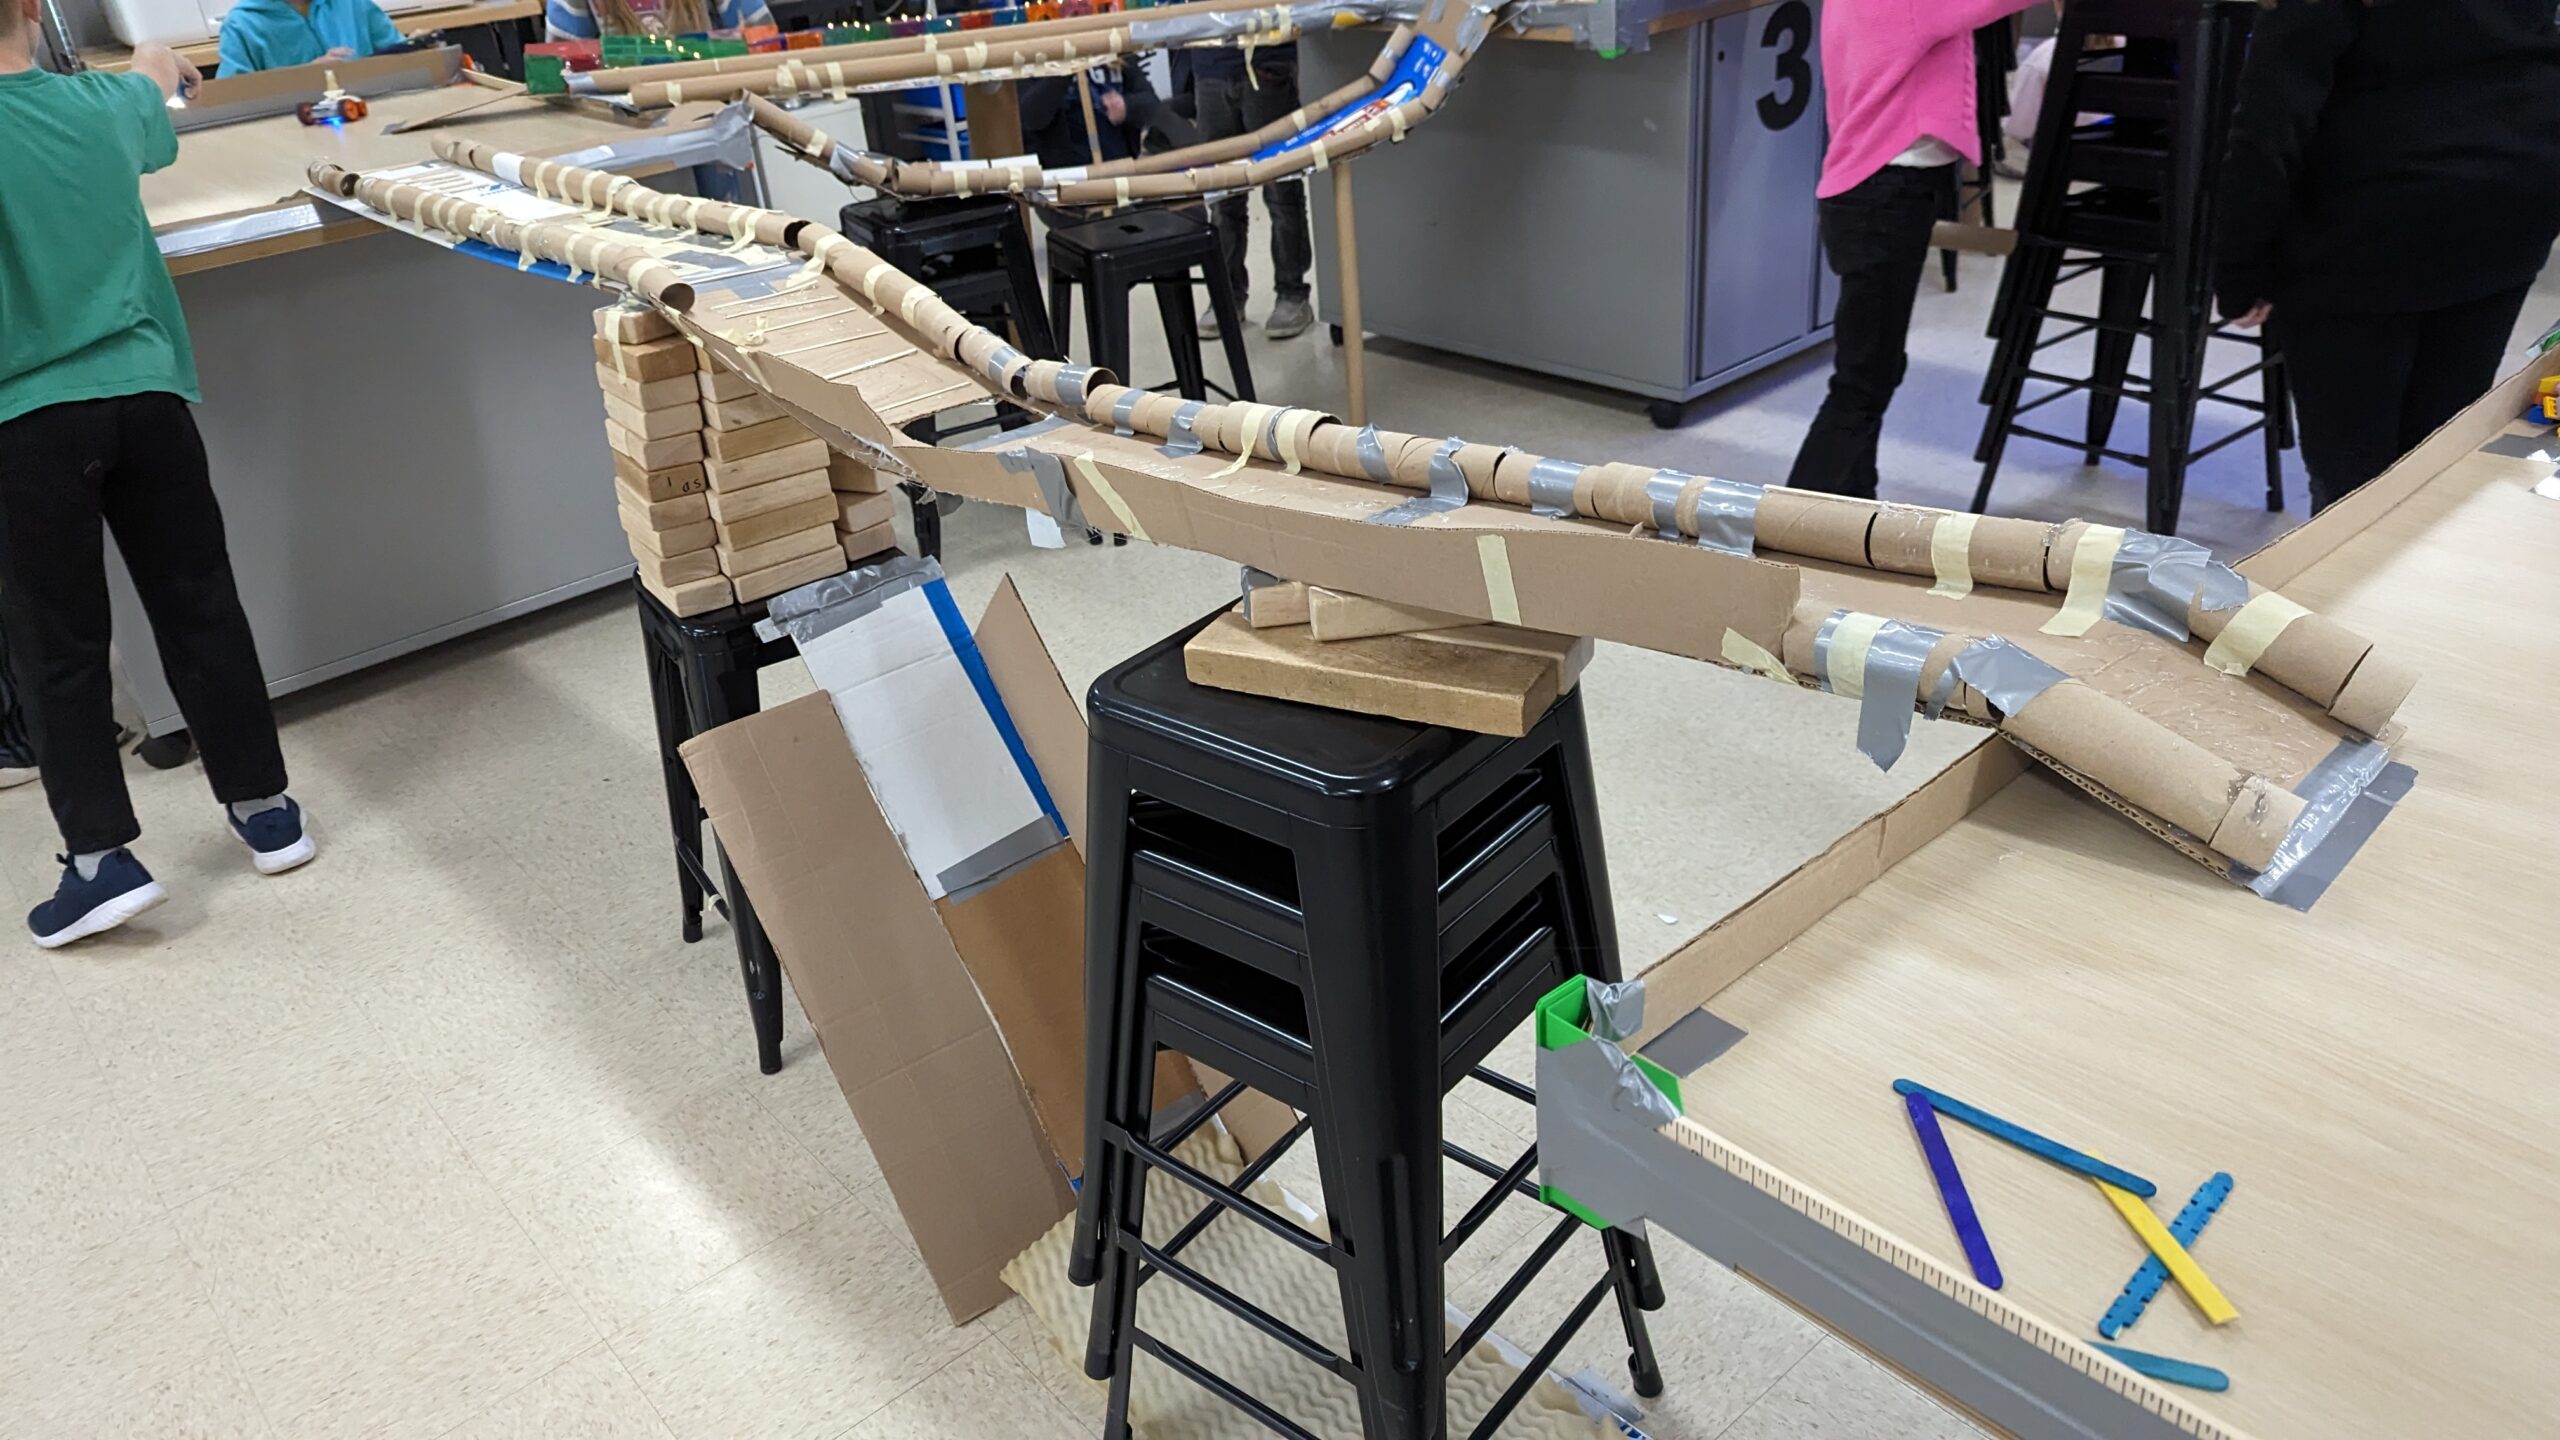
A note about the table barriers:
I decided to see if I could find enough of those “box corners” in our recyclables area, in the STEAM room — but we didn’t have enough, so I thought that there might be a chance that I could 3D print some. And lo and behold there was a file on Thingiverse, but I modified it so that the end result was two box corners put together. It took awhile to print these, as you need four per table, but they were a fantastic solution to our need (keep the table borders up, and keep the robots on the table)! I used meter and yard sticks taped together for the middle section of each table side. Oh, and lots of duct tape. Only two broke when I took them off the tables, so in the end…a great solution in my mind!


No Comments