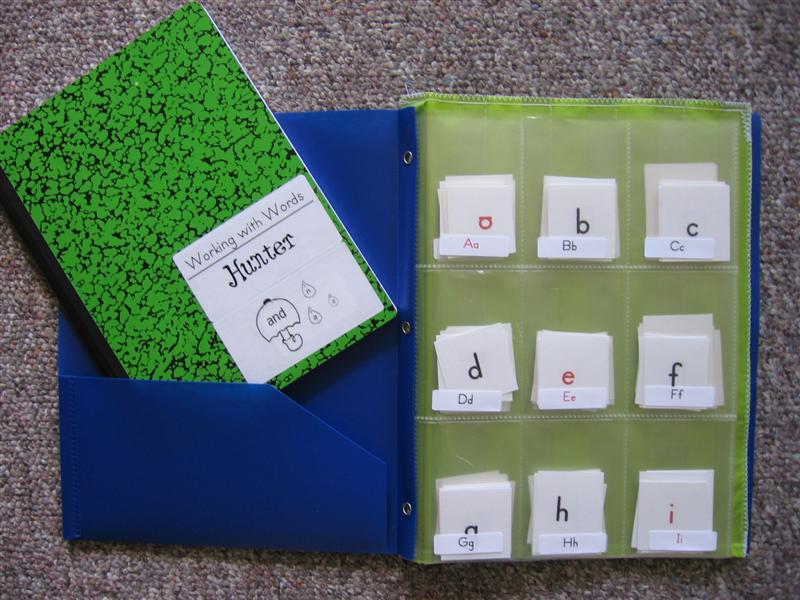
I was recently asked where my “Working with Words folders (w/ pocket charts) were on my site. This led me to discover that the page never was recreated. Yikes! I did find the photos on my computer and thankfully, Internet Archive Wayback Machine had an archive of my old site and I was able to find the original directions!
Materials Needed:
- Pocket Charts ($1 from Target)
- Notebooks
- 3-Prong, 2-Pocket Folders
- Sewing Machine
- Thread
- Scissors
- 3-hole Paper Punch
- Labels for Folders
- Letter Cards
- Letter Card Pouch Labels
- Baseball Card Pouch Inserts
How did you create your Working with Words Folders?
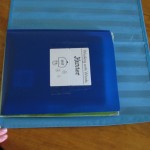
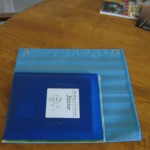
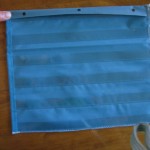
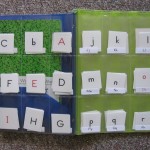
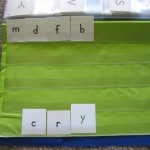
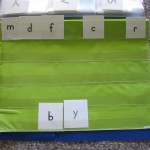
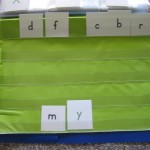
I lined up the notebook on the pocket chart. I cut off the bottom of the pocket chart (the part just below the last row). I then cut up the side of the pocket chart and around the top, leaving the extra fabric above the top row of the student pocket chart so that I could fold it over when three hole punching it (added thickness).
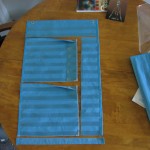
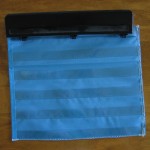
I then positioned the folder on top of the remaining pocket chart and cut up the sides and top (again leaving the extra fabric above the top row). You can see the “extra pieces” in picture #3. I threw away the sides and bottom part, but kept the top two rows part because I thought it looked useful (not sure WHAT for….though). I then sewed the cut side (straight stitch and then a zig-zag stitch), and sewed the bottom (zig-zag). Then, I three hole punched the top. I had to make sure that I positioned the punch correctly (test one) and adjust if needed.
Other Details:
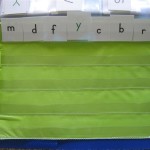
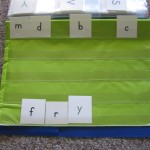
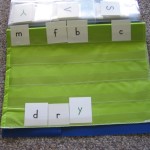
- I print the letter cards back to back, with lowercase on one side, and uppercase on the other side. Laminating is optional.




No Comments