I mailed my students their Remembering First Grade DVDs at the end of June.
We start our end of year DVD project in the month of May. If you’ve read about our Personal Narratives DVD project, you’ll notice that there are some similarities in the process, but I find that this project takes less time and is less intense!
Phase 1
- Take pictures yearlong
- Take videos yearlong
- Organize media by subject
At the start of the year, I create a folder system in Dropbox. I use the Dropbox app on my smartphone and set it to sync all videos and pictures over WiFi. I then make sure I have Dropbox for PC downloaded to my school laptop as well as to my home computer. That way, when my phone syncs the pictures and videos to Dropbox, Dropbox in turn syncs to both computers (home/school). Any changes made to the pictures/folder system on one device will automatically sync to the other devices. This process is important for later on in the project!
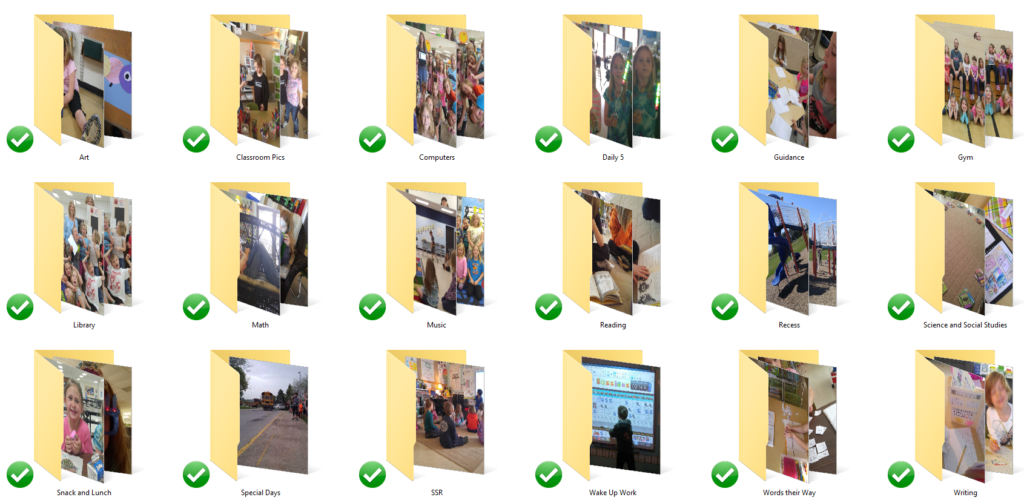
Throughout the year I try to take photos for all areas. It is sometimes hard time to take pictures during specialists classes, as I’m in meetings or using that time for prep! So, sometimes I ask specialists if they’ll share any pictures that they have taken with their own devices. It helps me to get some unique pictures that I’d otherwise not get. Same goes for field trips and special events. When parents are present for these times, I ask them to share their pictures with me. I just create an album on our class’ Bloomz page. I then invite them to add to the photo and they can easily share photos to the album.
Phase 2
- Write narration for each subject as a class
- Voice record narration in small groups
In May I start the process of writing the narration for each of our Remembering First Grade movie sections. We don’t do this all in one day, but rather over the course of several days. I alternate between a written shared writing narration and an oral shared writing narration. For the written shared writing, I sit at the computer and type what they share, while it projects on the Smartboard. For the oral shared writing narration I use Audacity to record what they share and then later on type it. I alternate between these two methods because otherwise it’d be a lot of sitting, and switching up how we record their story/narration, helps break it up and not be so mundane.

After the narrations are typed, I print and then call small groups up for voice recording. We utilize the free Audacity program to voice record. It’s pretty slick, and easy to use. I save each group’s narration in a folder for future use. Here’s a sampling of one group’s voice recording:
We do the voice recording during Daily 5 time. I ask the class to be “Cotton Ball Quiet” so we can do our best when we voice record.
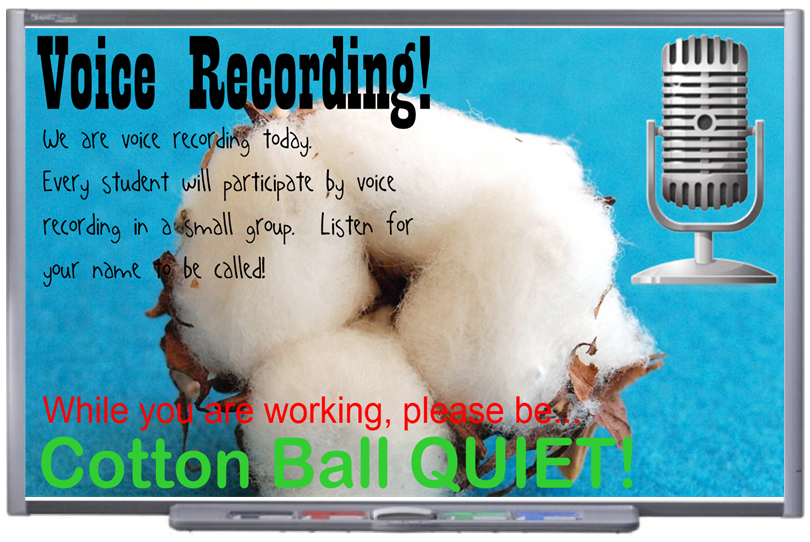
![]() Download the Cotton Ball Quiet Smartboard File
Download the Cotton Ball Quiet Smartboard File
Phase 3
- Create movie “chapters” (subjects)
- Burn DVDs
- Distribute DVDs
After all groups have recorded their narrations, it’s time for me to create the movies! I use Movie Maker for this. The process is as follows:
- Insert pictures and videos.
- Mute videos.
- Add transitions between pictures.
- Add narration.
- Save movie (I select “for high definition display”).
- Open new Movie Maker project.
- Insert movie that was just created.
- Insert background music.
- Save movie.
- Repeat for all “sections” of the movie.
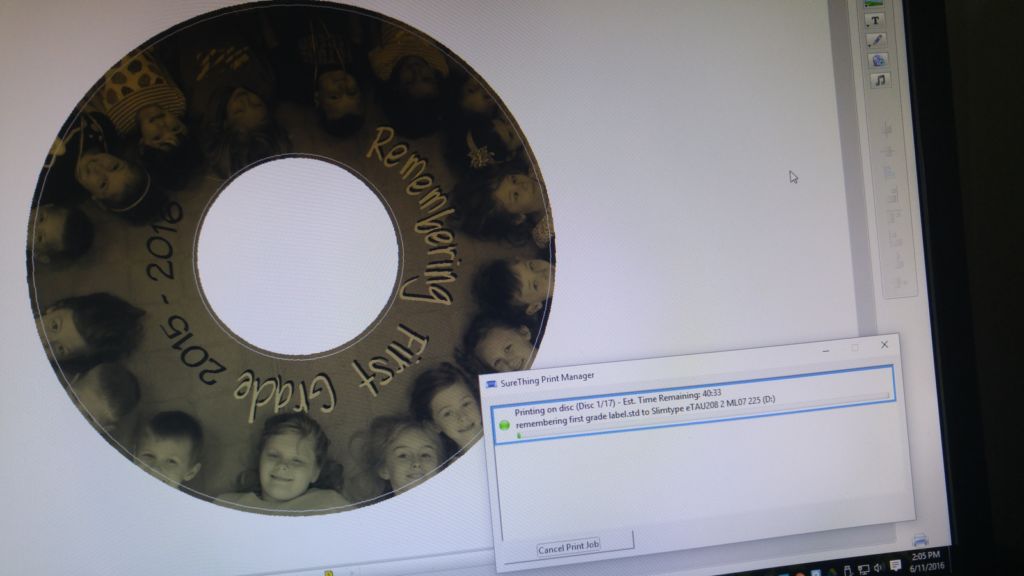
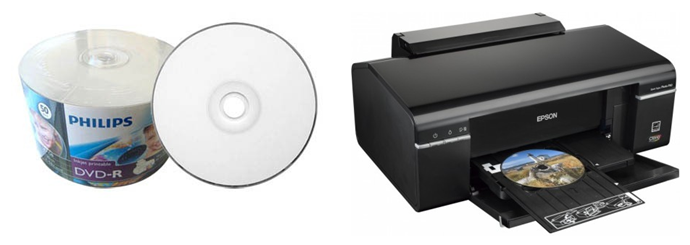
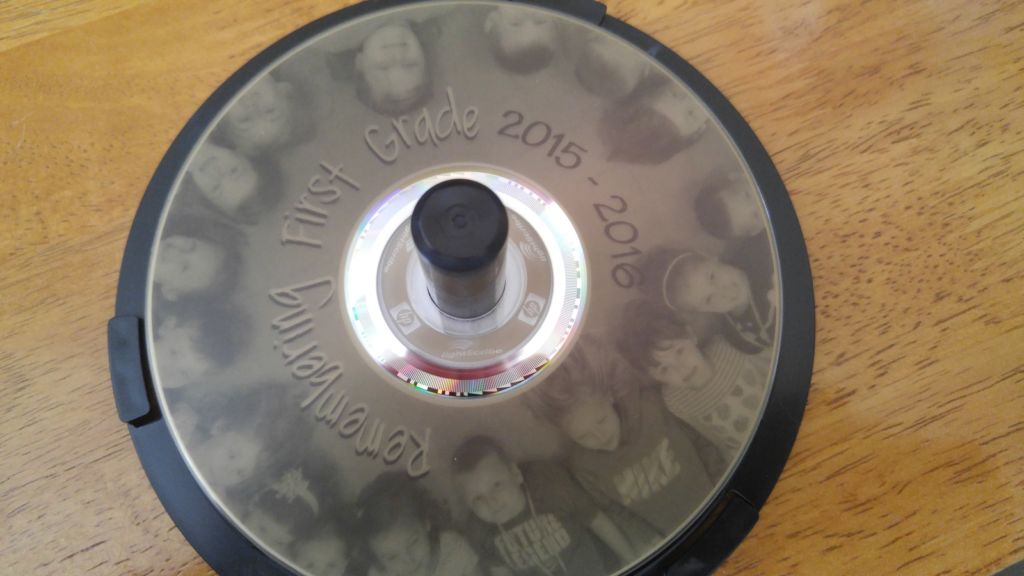
Once all the sections (or chapters) of our movie are done, I insert them into Windows DVD maker and burn the final DVDs! In the picture above you can see that I also printed a label on the front of the DVD using Lightscribe printing technology. This will be my last year doing it this way. Lightscribe is neat, but apparently it’s “old” and is being phased out as a viable option for DVD labeling. Next year I’ll print on the white label DVDs, using a different kind of printer.
Finally, I’d like to share a couple of samples of our Remembering First Grade DVD project!
Work on Writing:
Writer’s Workshop:


1 Comment
Wow! You are such an inspiration to me!!