
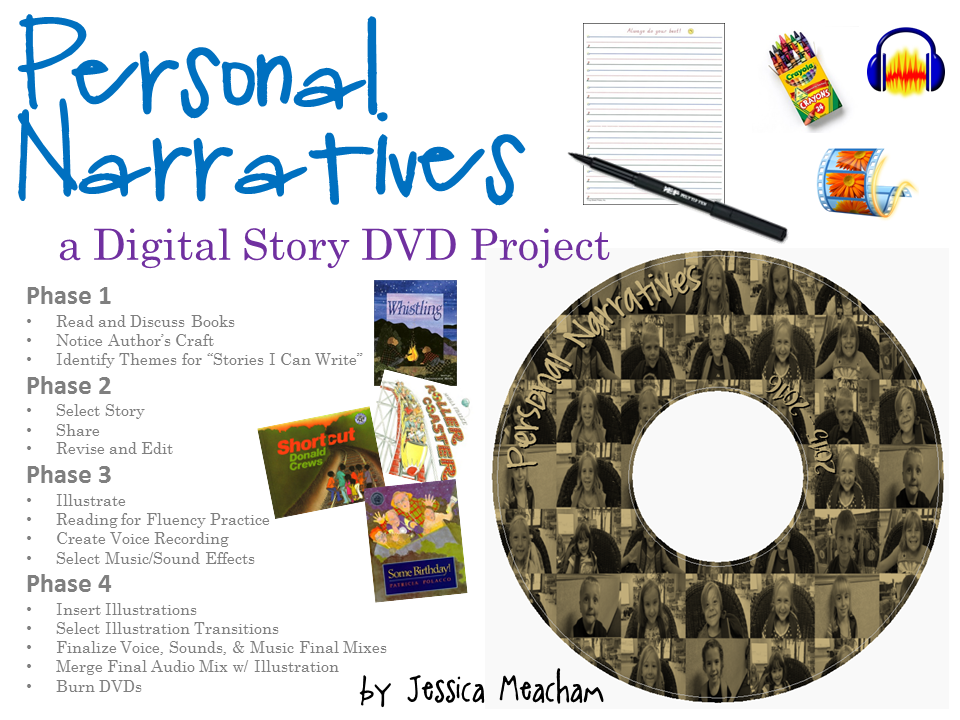
Our personal narratives unit is one of my favorites. During this unit, students listen to and read books, discuss books, brainstorm possible topics, write several personal narratives, select one personal narrative to develop into a digital story, share their stories, gather feedback from their audience, give feedback to their peers, revise/edit their stories, illustrate their stories, voice record the stories, insert their illustrations into movie maker, select picture transitions for their movie, and assist with music and sound clip additions. And, when it’s all said an done, students take home a DVD that has each student’s digital personal narrative on it!
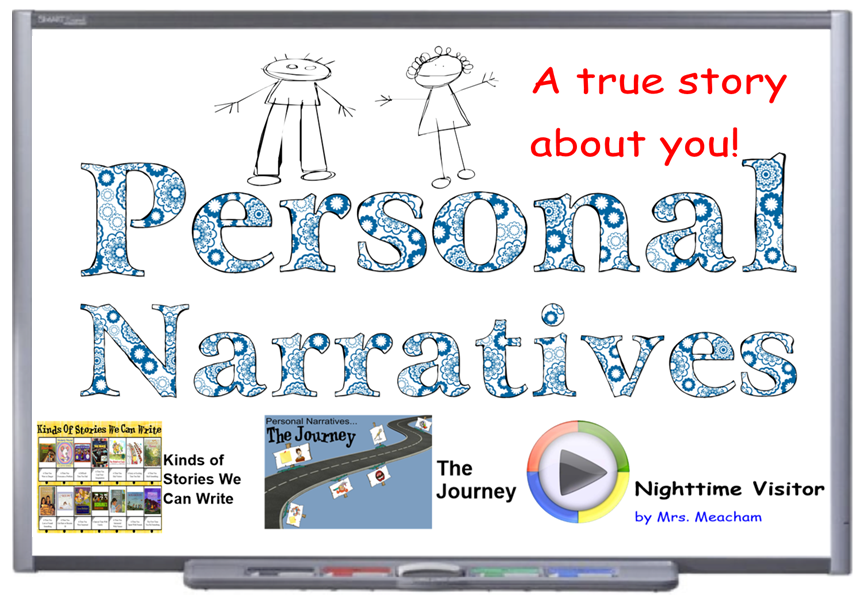
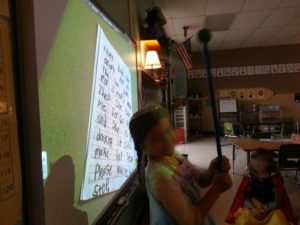
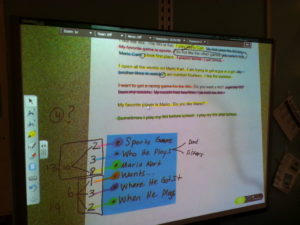
Below you’ll see that the as the unit unfolded, we kept track of our progress and learning on wall anchor charts. Above is the SMARTboard file that we’ve been using for the past few years. It takes the place of the wall anchor charts.
![]() Download SMARTboard Personal Narrative File
Download SMARTboard Personal Narrative File
Phase 1:
- Read and Discuss Books
- Notice Author’s Craft
- Identify Themes for “Stories I Can Write”
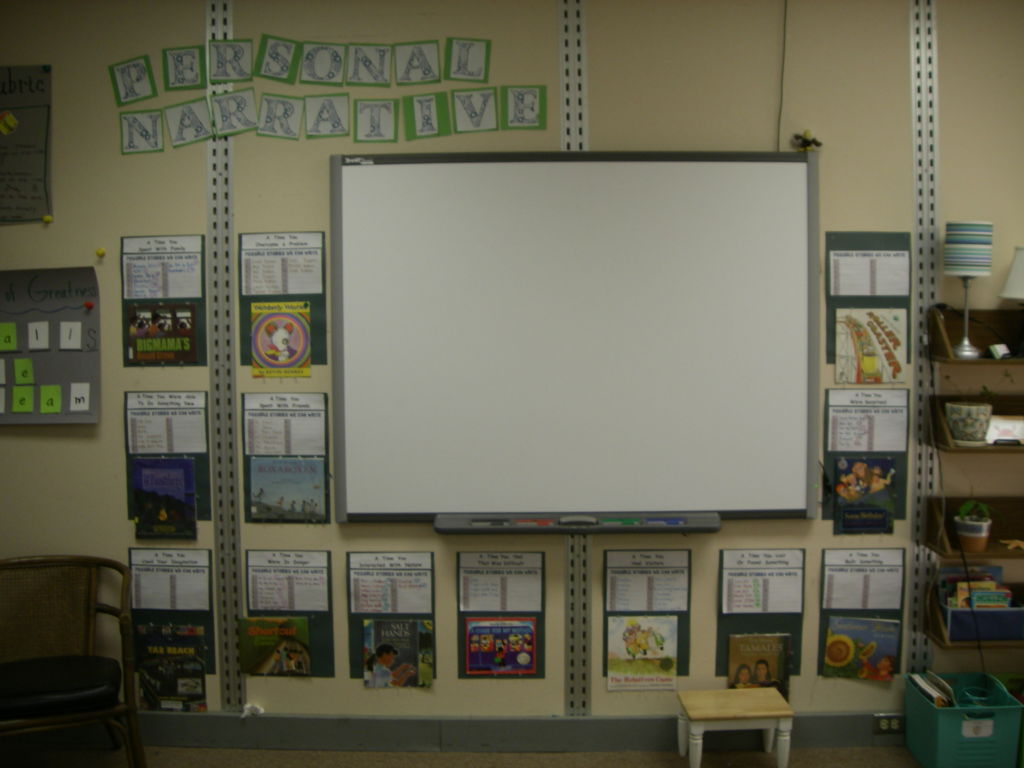
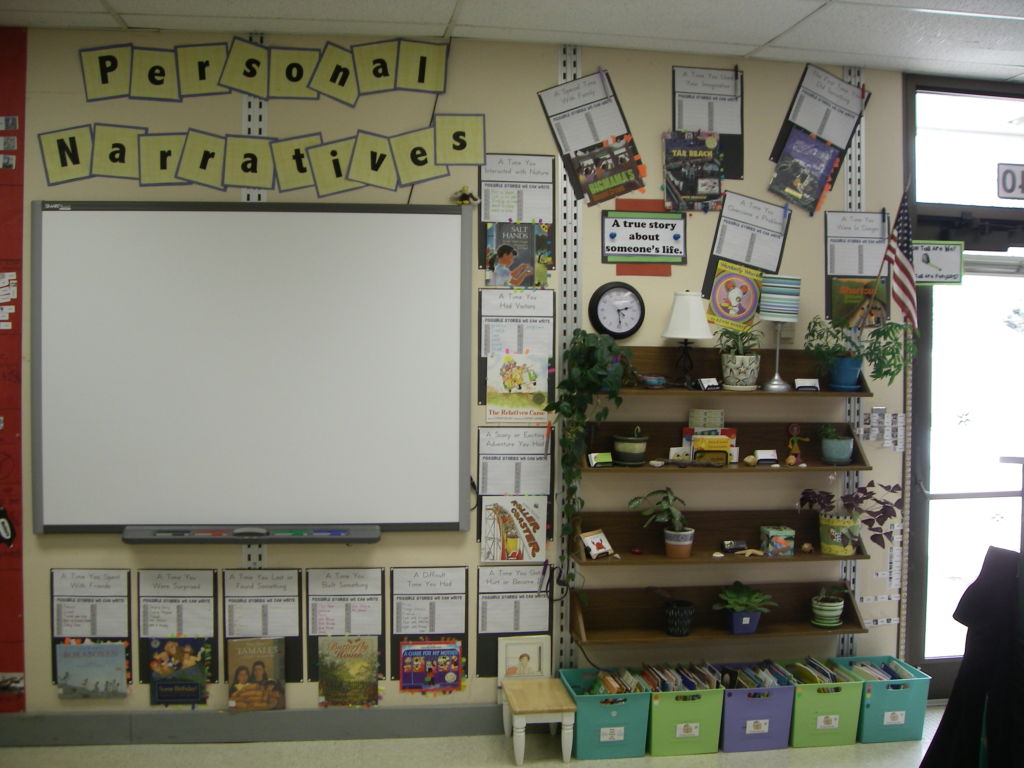
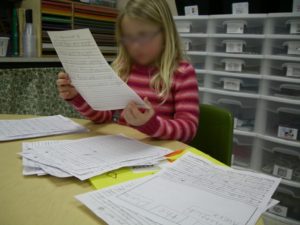
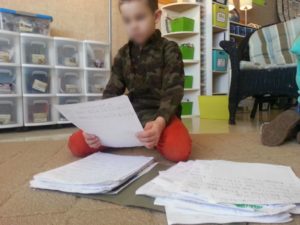
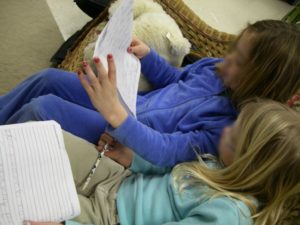
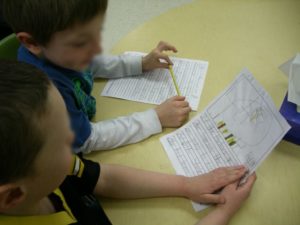
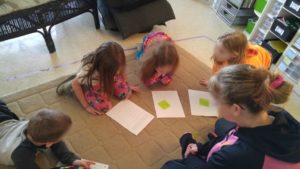
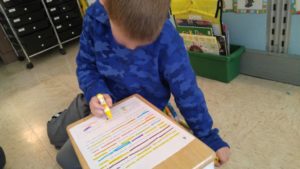
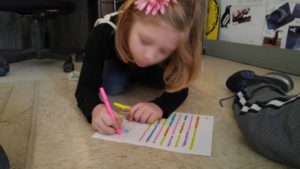
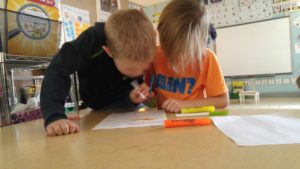
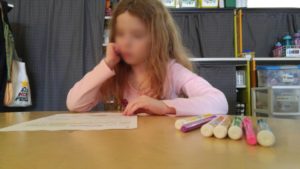
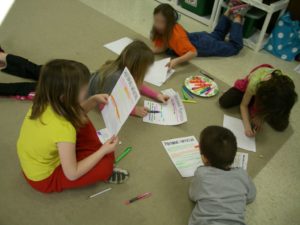
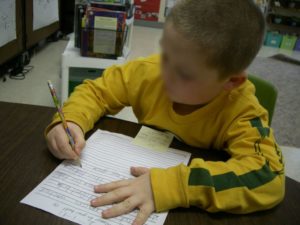
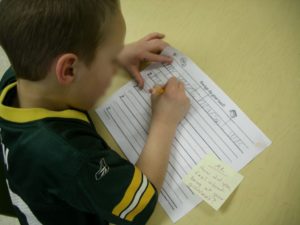
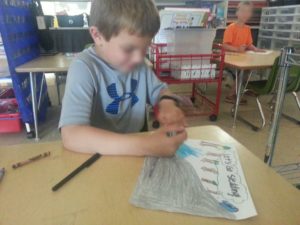
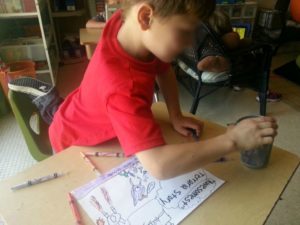
You can take a peek at the wall version of our anchor chart. The pictures below show two different years. In a nutshell, after each book is read and discussed, we brainstorm stories that we could write about for each book’s “theme” – themes were:
- A time you were in danger.
- A time you overcame a problem.
- A difficult time you had.
- A time you used your imagination.
- A time you had visitors.
- A scary or exciting time that you had.
- A time you built something.
- A time you lost something.
- A time you were hurt or ill.
- A time you were surprised.
- I time you spent with family.
- A time you interacted with nature.
- A time you spent with friends.
- The first time you did/learned something.
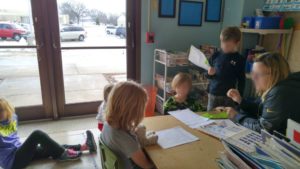
I didn’t force students to write about the day’s book theme. Rather, we continued reading and talking about books. We continued writing stories about ourselves.
In addition to talking about the book’s characters, setting, and problems/solutions, we identified interested words and phrases. We noticed author’s craft!

Phase 2:
- Select Story
- Share
- Revise/Edit
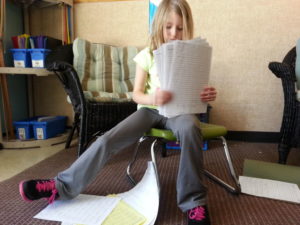
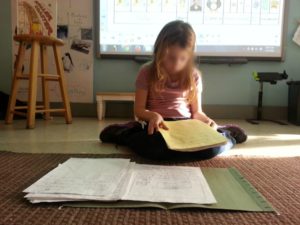
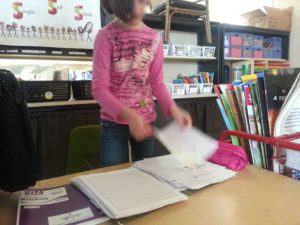
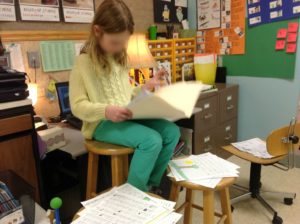
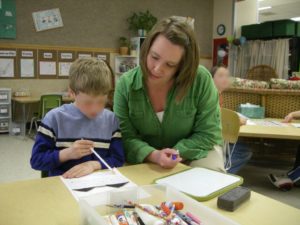
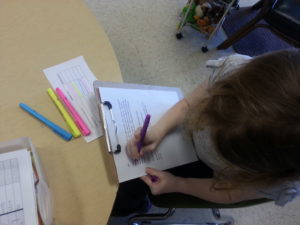
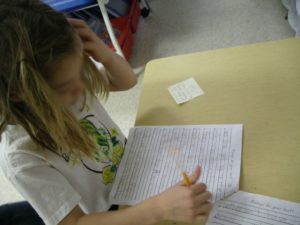
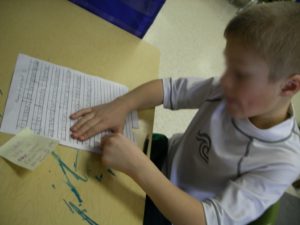
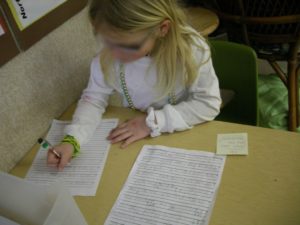
Our goal throughout phase one was to write, and write a lot! Why? We wanted a nice variety of stories for selection day! On selection day we spent time with our writing portfolio and selected ONE story to work with for the rest of the unit. When students were ready to select a story, I encouraged them to spread out and spend some time reconnecting with the stories in their portfolio. They were asked to select ONE story. I allowed them to submit more than one if they happened to have several stories that were about the same topic. From here on out, anytime they wrote about that topic they added a GREEN SMILEY face sticker to the top of it. This identified the story as a Personal Narrative story. It made it a lot easier to manage loose papers here and there and everywhere! Trust me, the green sticker was a life saver. You could use any type of sticker or stamp. I just happened to have a lot of green smiley face incentive stickers!
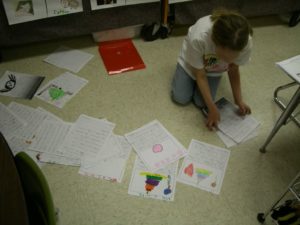
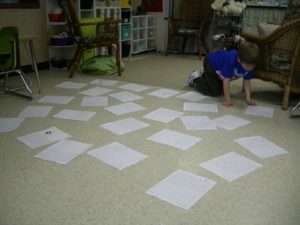
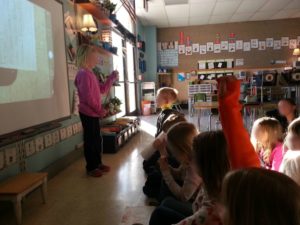
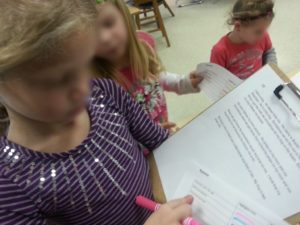
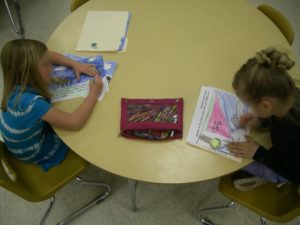
Once the stories were selected, we started the share process. This process, along with the editing/revising process was cyclical meaning we’d share, then revise; share, then revise; share, then revise and so on! Sharing took place in many different forms- they shared with peer groups, partners, Parent mentor groups, and me! Students also shared whole group using our iPad as a projector or our IPEVO document camera.
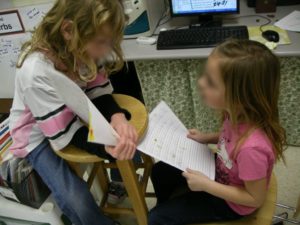
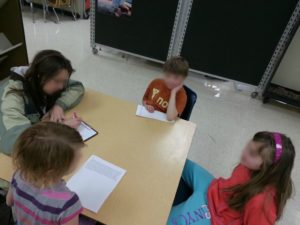
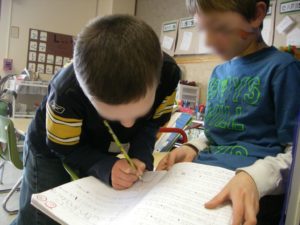
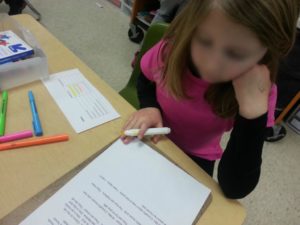
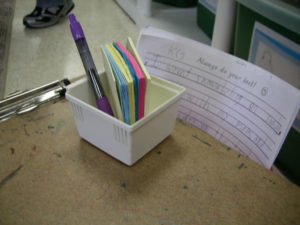
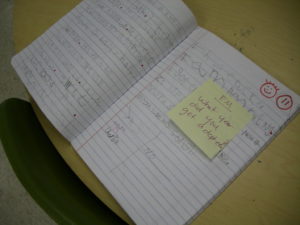
After students shared, they asked for feedback in the form of QUESTIONS or COMMENTS or SUGGESTIONS or CONNECTIONS. When a classmate made a suggestion or asked a question, I wrote it down on a post it note for the student. They then used this to edit and revise their story the next day! Some important mini lessons during this time included:
- how to turn post it note questions into and answer (sentence)
- how to organize our writing (sorting details)
![]() Check out our YouTube videos: Post-It Note Revisions & Highlighter Sentence Round-Up
Check out our YouTube videos: Post-It Note Revisions & Highlighter Sentence Round-Up
During this phase, I started typing their stories. The stories would change day by day and I’d do my best to keep up with the changes on my digital version. This was a key part to keeping SANE during this project. I didn’t want to have to type them all at once before needing them for Phase 3!


After several rounds of sharing and revising/editing, we then moved on to the next phase!
Phase 3:
- Illustrate
- Practice Reading for Fluency
- Voice Recording
- Music and Sound Effects Selection
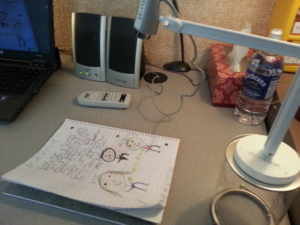
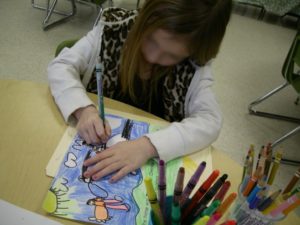
I typed each student’s story and created TWO VERSIONS. One was a “book version” which had a large white, open space at the top of the page and the text at the bottom. This version would be the actual illustrations that we’d use for the digital story, later on in Phase 4. The second version was the reading for fluency version. I printed this twice. Once for at home practice and once for at school practice. We use the at school practice version to also make notes about music and sound effects. Students worked with me to identify possible sound effects for their story. I used to do this alone but found that bringing in students for this part of the process added another unique perspective. It is always interesting and fun to hear their ideas for what sound effects I should try to find and what kind of music I should add. I add clips of background music and even some music with lyrics! For sound effect and music sources, check out my Pinterest board.
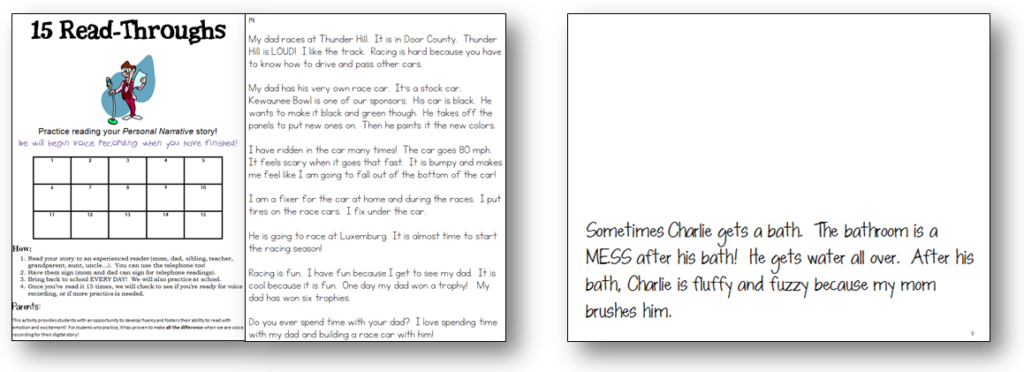
As students illustrated, they also practiced reading for fluency at home and at school (during Daily 5 and/or Guided Reading). I had them keep track of their practice readings.
![]() Sample PRACTICE for FLUENCY Reading Sheets
Sample PRACTICE for FLUENCY Reading Sheets
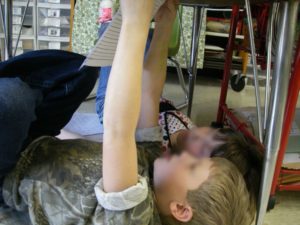
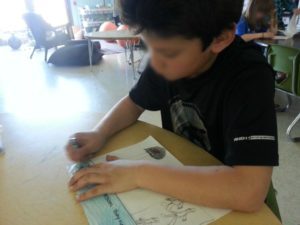
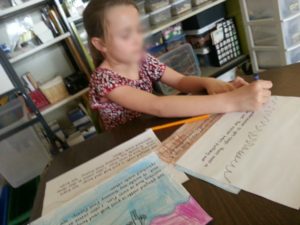
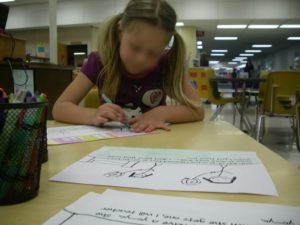
Students used black, thin markers to illustrate their stories. I taught them how to make a “baseline” above their text. They were challenged to illustrate by including 5 or more picture details (things for us to look at!) and 5 or more color details (using crayons). If they made a mistake, they initialed it and put it in TINA (our “collection basket”). I would then find it that afternoon or the next morning and reprint that page for them. Once their illustrations were completed, they turned in their entire manila folder and I’d use our copy machine to make colored scanned versions. It turned their illustrations into a PDF. I’d then use an online PDF to JPG converter to create individual JPGs of their illustration.

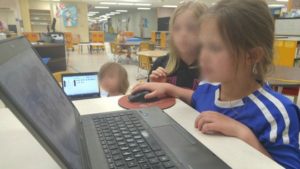
During this phase, three things are happening at once! Not only are they illustrating and practice reading for fluency, but we are also voice recording. I can start voice recording with students when they are ready. Being ready means they’ve finished their fluency reading tracking sheet and have brainstormed with me to identify possible sound effects and music. I use Audacity to voice record. It’s an easy program to use and we use it all the time in our classroom! With Audacity I have the student record their story. We record in several snippets. These snippets are based on where sounds and/or music are going to take place in their story.
Phase 4:
- Illustrations Inserted
- Translations Selected
- Audio Mixes Finalized
- Audio Mixes Merged w/ Illustrations
- DVDs Burned
- DVDs Handed Out or Mailed
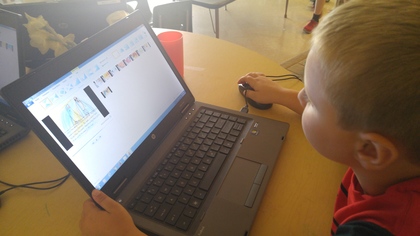
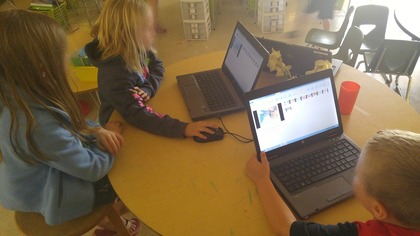
This past year I used the student teaching student model. I trained four of my students how to insert their illustrations into Movie Maker, as well as how to select transitions between their illustrations. Once they finished theirs, they worked with their peers. It was a pretty slick process!
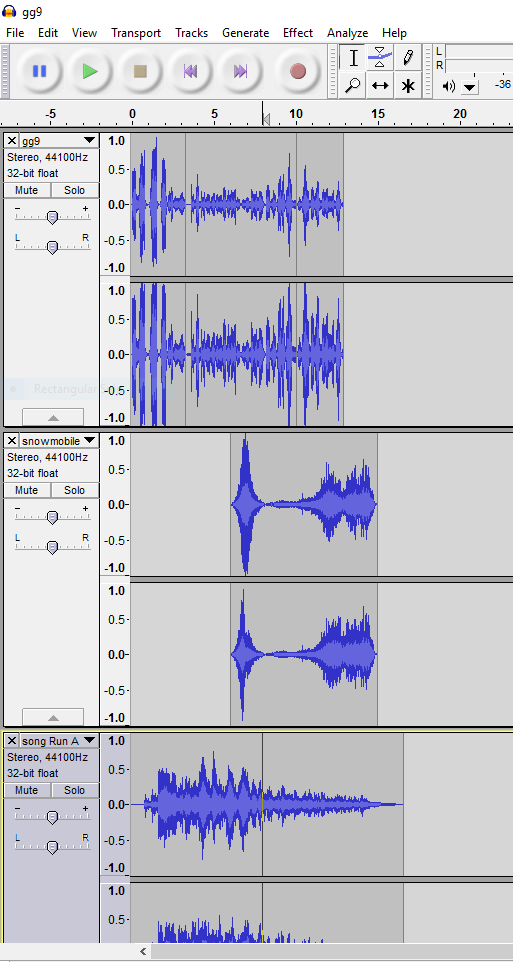
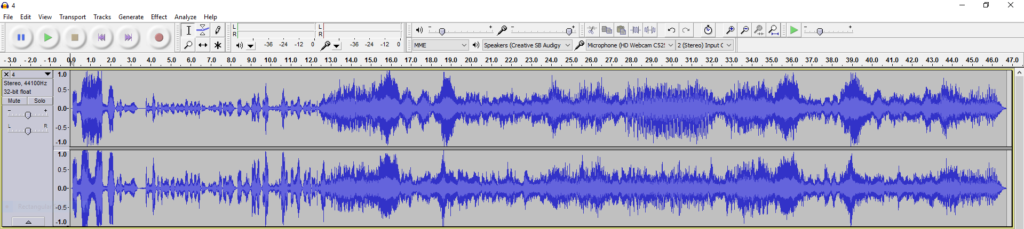
While students work on Movie Maker illustrations, I begin to mix the audio. Once I have all sounds, music, and voice recording clips, I use Audacity one more time to mix them into new clips. If a student has a nine page story, I create nine final clips for them. This makes it very easy when we put our digital story together with Movie Maker. The pictures you see below show 1) what the sound effects, music, and voice clips look like when added to Audacity to make one final sound clip and 2) what the final saved sound clip looks like. Click on the third picture below to see how it sounds and looks like when added to the student’s illustration.
Movie Maker allows me to make a CD version of the movie. I do this and then use Window’s DVD maker to combine all student movies into one DVD. When it is finished burning, I pop it into the DVD player to check that it burned correctly. They’re neat because they play just like a DVD movie. Students can play the entire movie (all student stories) one after another, like a full length movie, or choose to watch chapter segments (individual student movies).
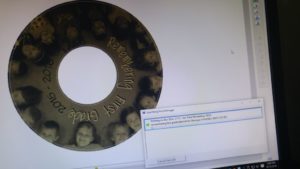
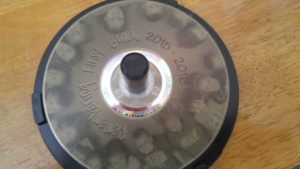
One year I was able to finish the entire project before school let out for summer. But typically, I’m working through some of Phase 4 during June, after school’s finished. I then mail the students their DVDs (they get a Personal Narrative DVD as well as a Remembering First Grade DVD).
I realize that when you read this, it might seem like a really long, intense process, but it is FULL OF FUN! And, it covers A LOT of standards, too!
Standards Covered:
- RL.1.1, RL.1.2, RL.1.3, RL.1.4, RL.1.6, RL.1.7
- W.1.3, W.1.5, W.1.6
- SL.1.1.A-C
- SL1.2 A, SL.1.3, SL1.4, SL1.5, SL.1.6
- L.1.1.A-J, L.1.2.A-E
![]() Download printable unit plans. Car locksmith prices should not break the bank. Our locksmith rates are extremely competitive, which is why we are comfortable enough to be completely transparent and upfront with you about our rates.
Download printable unit plans. Car locksmith prices should not break the bank. Our locksmith rates are extremely competitive, which is why we are comfortable enough to be completely transparent and upfront with you about our rates.
Finally, I want to give you a peek at some of the final movies that we created this past year. Enjoy!

3 Comments
[…] start our end of year DVD project in the month of May. If you’ve read about our Personal Narratives DVD project, you’ll notice that there are some similarities in the process, but I find that […]
Wow, this is amazing. I teach 2nd and am so impressed that your 1s graders did these projects!
Awww!! Thank you! Glad you enjoyed them!