
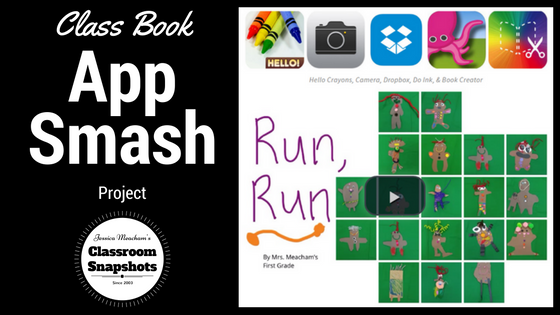
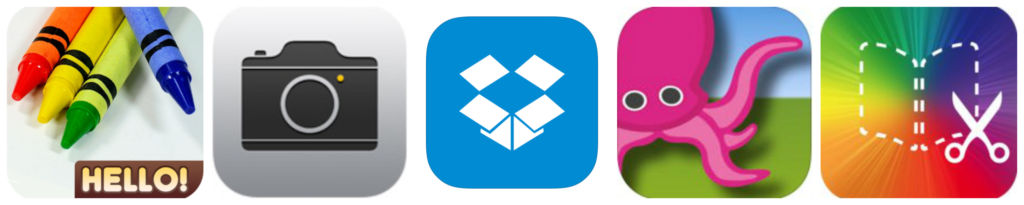
We created a class gingerbread story this week. We used our iPads and app smashed our way through the process.
Step 1:
Students were greeted with a pile of craft materials. They were asked to create gingerbread people.
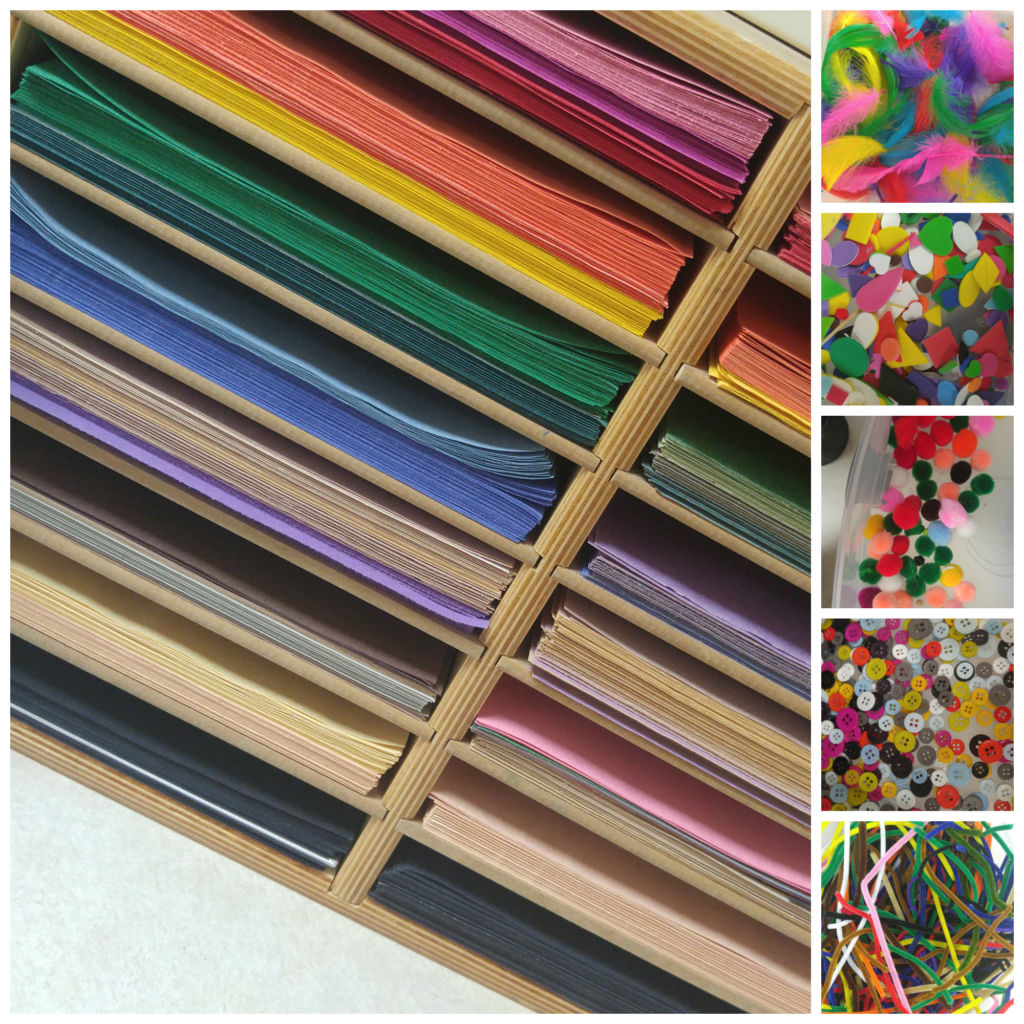
Many students wanted a template to cut out, but I didn’t provide one and simply encouraged to them to do their best! We used:
- construction paper
- glue sticks, wet glue, and hot glue
- yarn
- pipe cleaners
- pom poms
- buttons
- beads
- feathers
- foam shapes
Step 2:
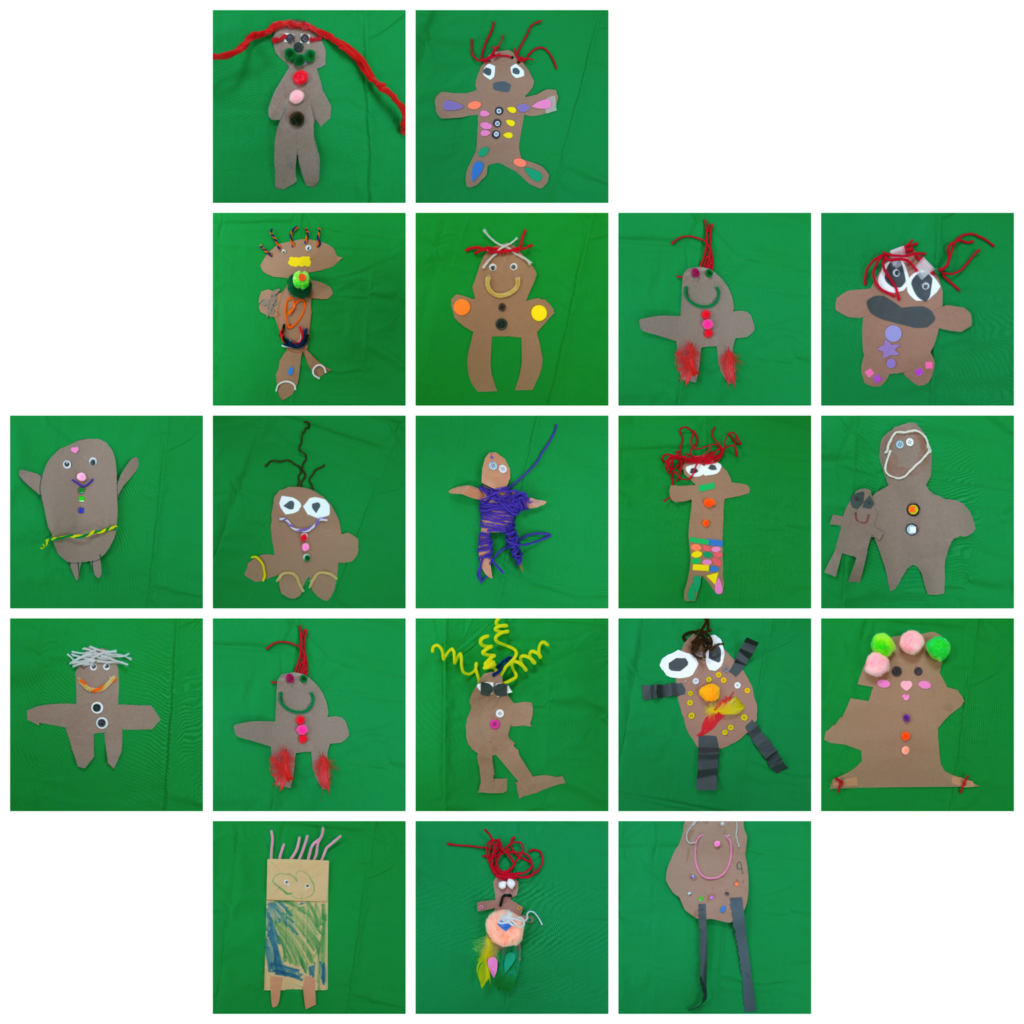
After the gingerbread characters were done drying, it was time for a photo shoot. To take green screen photos, simply grab some green material, drape it over a table, and snap a photo of each gingerbread character. I love how they turned out! After you take the photos, add them to a Dropbox account. I have Dropbox on our iPads already, and any photos taken automatically sync to Dropbox. I wanted them all in one location, as my students didn’t use the same iPad throughout the project. If your students use the same iPad for the entire project, they won’t need to add them to Dropbox.
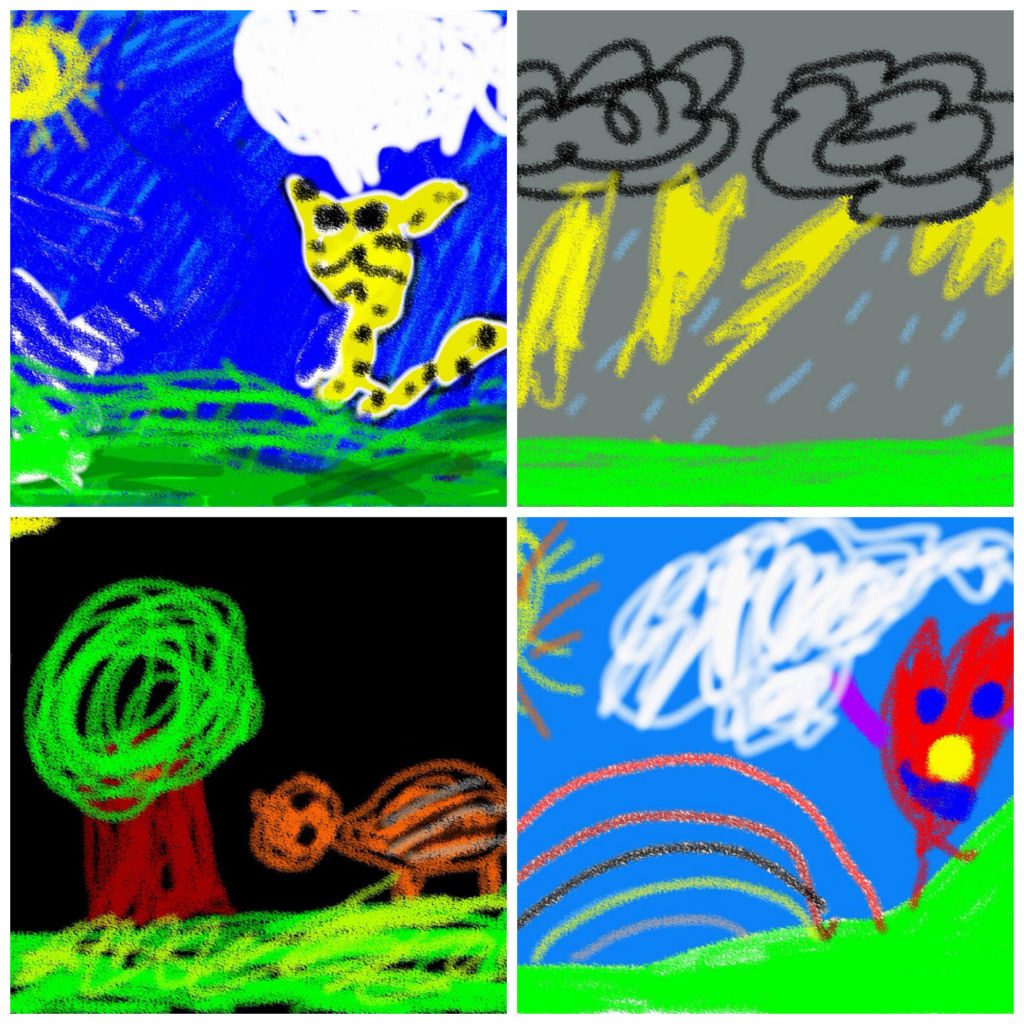
Step 3:
Using the app, Hello Crayons, have your students create the background for their gingerbread person. They need to identify what their character will run from. They will NOT draw the gingerbread person at this time, as their actual character will be superimposed over the background image later on, using the green screen app, to create a nice, visual contrast. As with the gingerbread characters, save these images to Dropbox (mine sync automatically). Again, if your students are using the same device for the entire project, then you can skip the Dropbox sync/save.
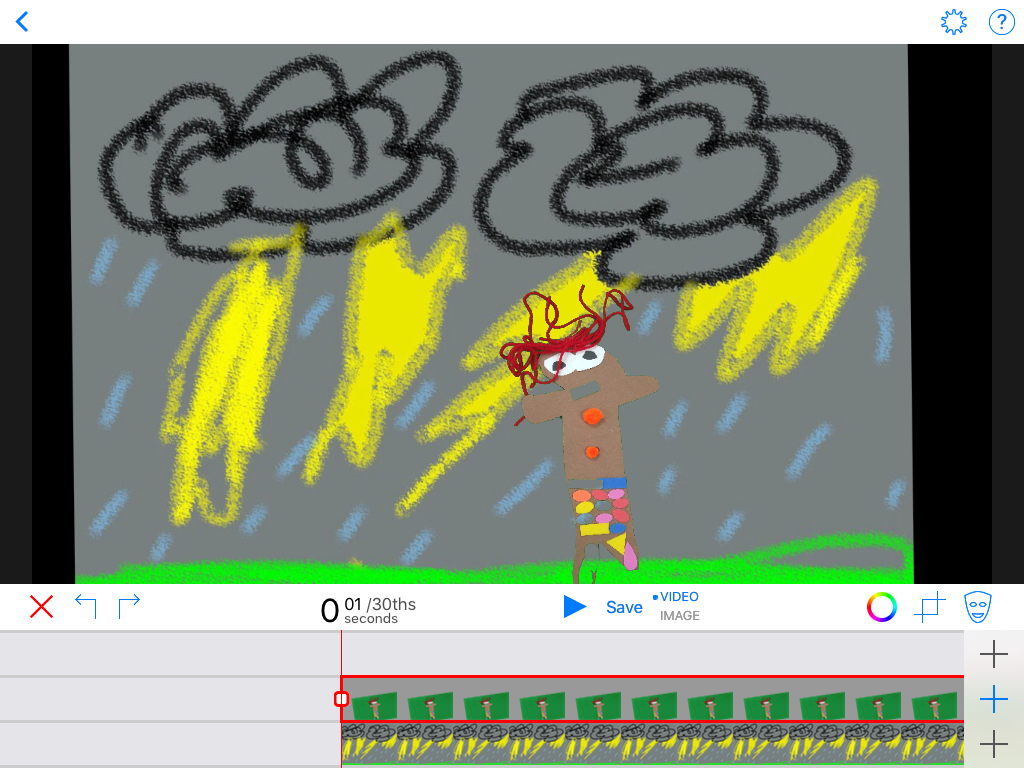
Step 4:
Now it’s time to combine the background and gingerbread character images. Students use the app Do Ink to do this. They add the background layer first, then they add the gingerbread character. Here are a few great tutorials for Do Ink, regarding adding image layers, resizing, re-positioning, etc. Once your layers are just right, save as an image. Save to either Dropbox (if you’re not using the same device for the next step), or to the iPad (if you’re using the same iPad for the next step).
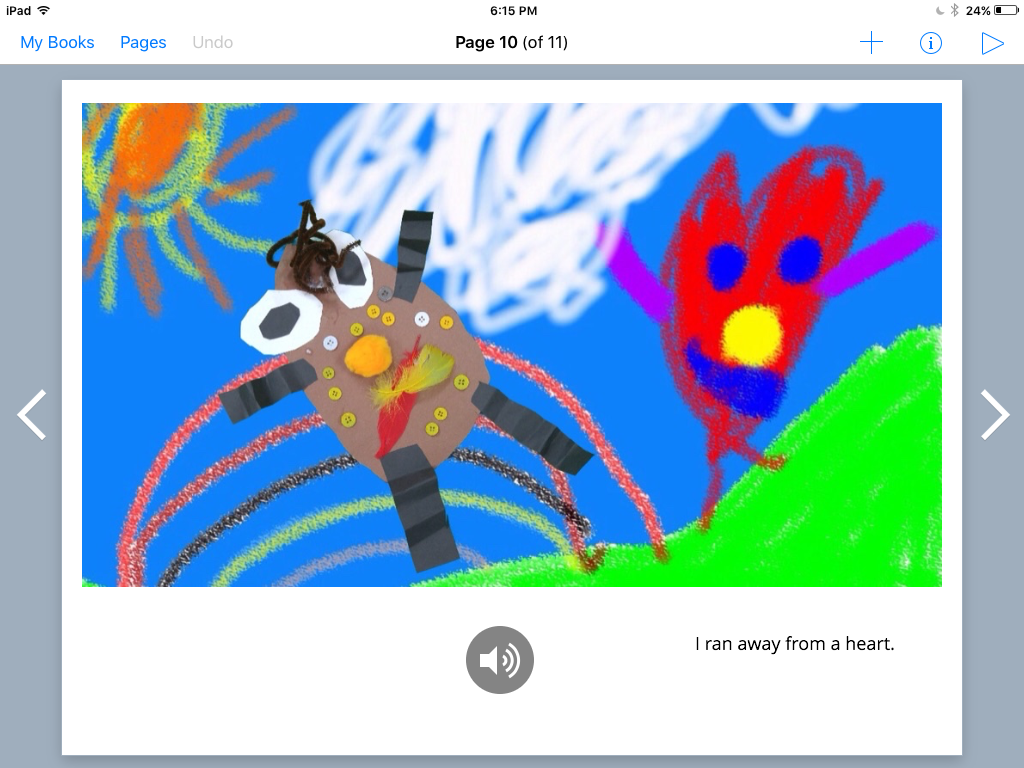
Step 5:
Create the class book using the Book Creator app. We did this as a whole class activity. I projected the iPad to the Smartboard using our Apple TV. We added each page’s image, “voice typed” the text for the page, and voice recorded the page’s audio. When finished, export the book as a video!
We shared our book with our parents via our parent communication app Bloomz. I also added it to each student’s Seesaw portfolio.
What app smash projects have you done with your students? I’d love to hear about them!


No Comments